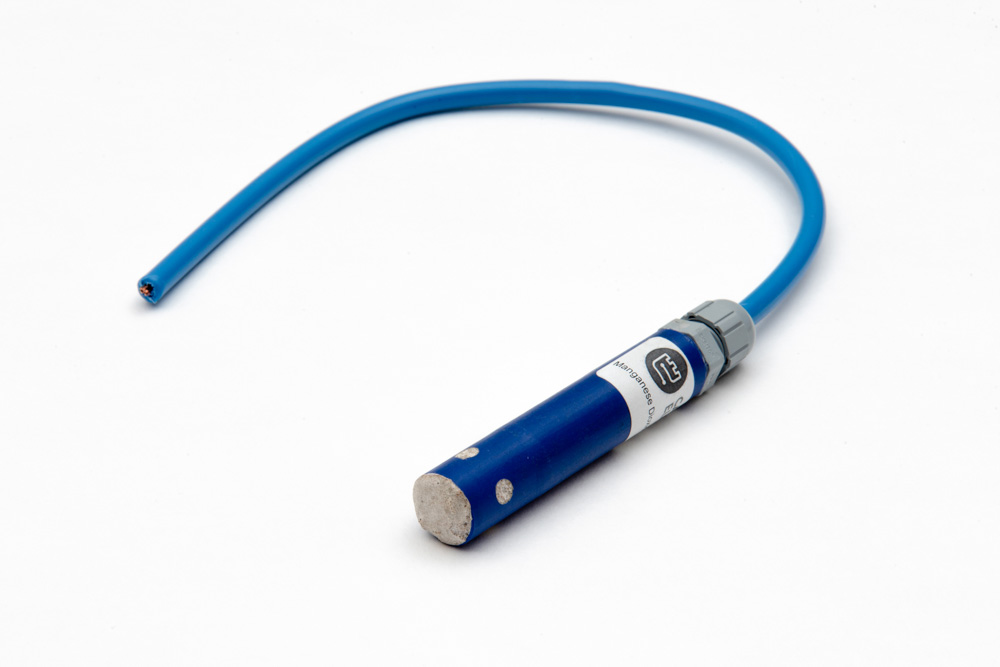
Castle Electrodes can supply the RB15 MnO2 reference electrode without cable, which
reduces shipping costs and allows the client to attach project specific cables with the
required lengths. By following the procedures set out below a secure and robust connection
can be achieved with an IP68 rating.
| Step | Procedure | Photo | Notes |
| 1. | Cut the cable to required length and strip both ends to approximately 10mm. | Cable length will be defined by the customer. | |
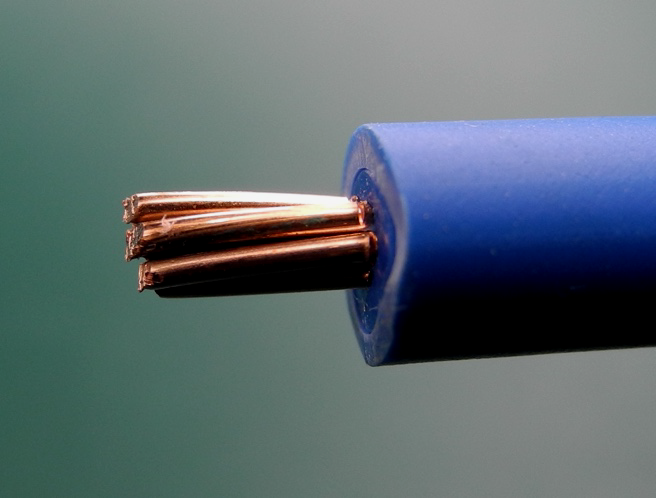
| 2. | Accurately cut the core of one end to 5mm. |
 |
|
| 3. | Slide the grey cable gland on to the cable. |
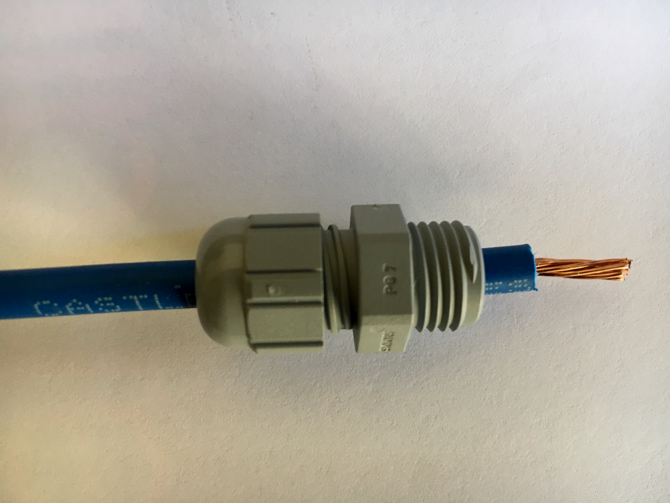 |
The cable gland supplied is a Lapp Cable skintop ST 7 with a clamping range 2.5-6.5 mm. |
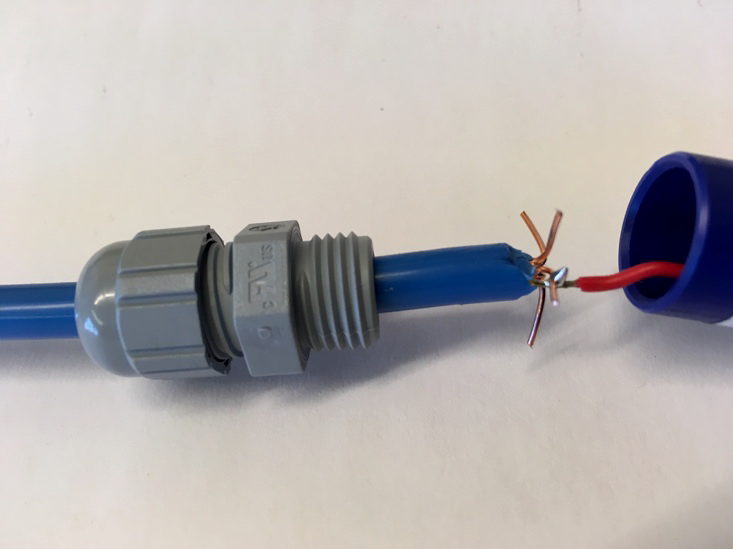
| 4. | Splay out the individual strands of the core. |
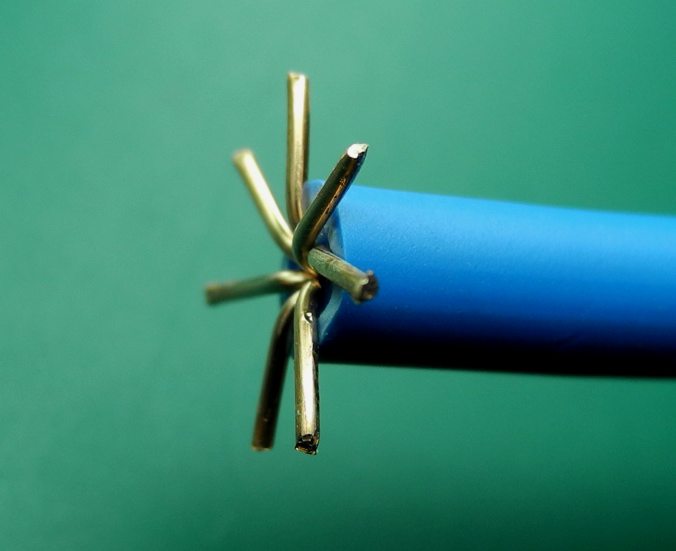 |
This stops the cable from being accidently pulled out of the epoxy. |
| 5. | Solder the electrode wire to the centre of the splayed out cable wire. |
 |
|
| 6. | Push soldered joint into electrode body and partially fill with epoxy resin. |
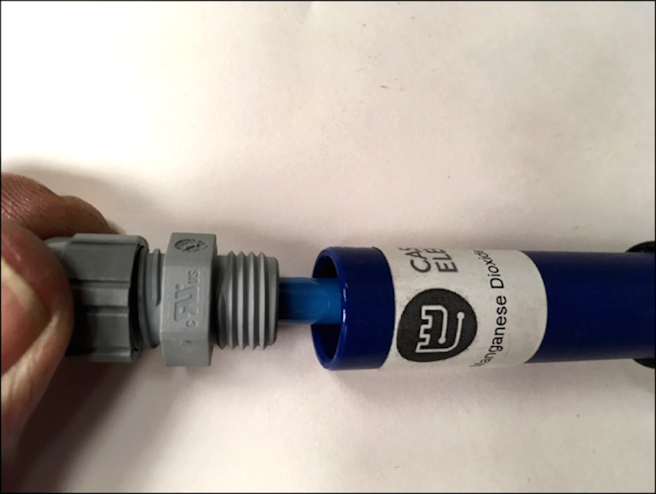 |
Do not overfill with epoxy resin or the cable gland will fill with resin when it is pushed in to the electrode body. |
| 7. | Push the cable gland into epoxy resin and temporarily secure with electrical tape. |
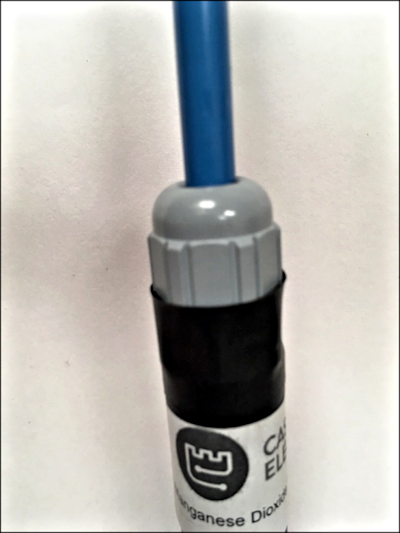 |
The cable needs to be supported above the electrode body while the resin cures. |
| 8. | Once the epoxy resin has cured remove the tape and tighten the cable gland. |
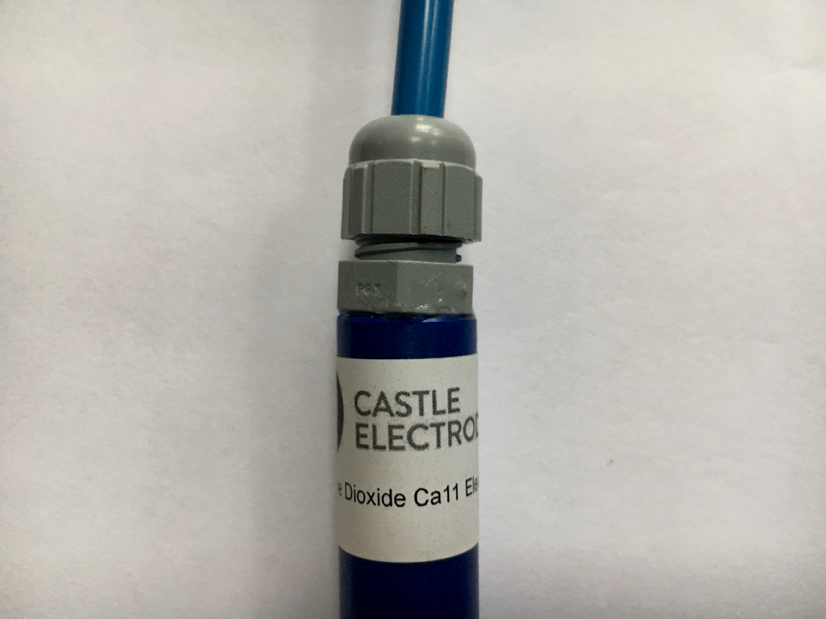 |
Use two 15mm spanners to hold the gland and tighten the top. |
| 9. | Completed RB15 Electrode ready for site installation |
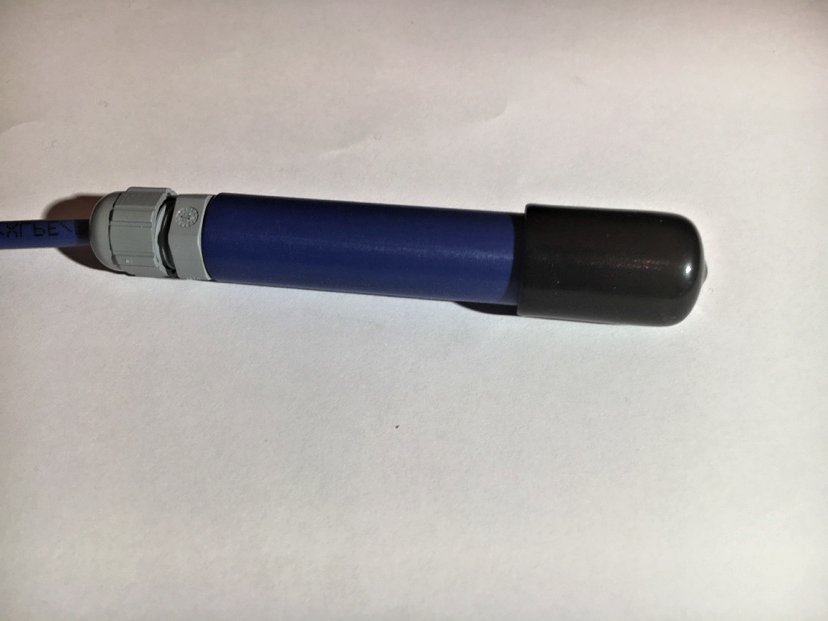 |
Remember to remove the end cap just before installation. |
The completed electrode has already been calibrated during manufacture by Castle Electrodes so there is no need to recalibrate after the cable is attached.
